You can upload photos to your inventory items and set a cover image for each item. The cover image displays as the thumbnail on the Inventory page, making it easier to identify items at a glance.
Uploading a Photo
- Go to the Inventory tab and select the item you want to update.
- On the Edit Item page, select the Images tab.
- Select Click to upload image(s) and choose the photo(s) you want to upload.
- Select Save Item at the bottom of the page.
Setting a Cover Image
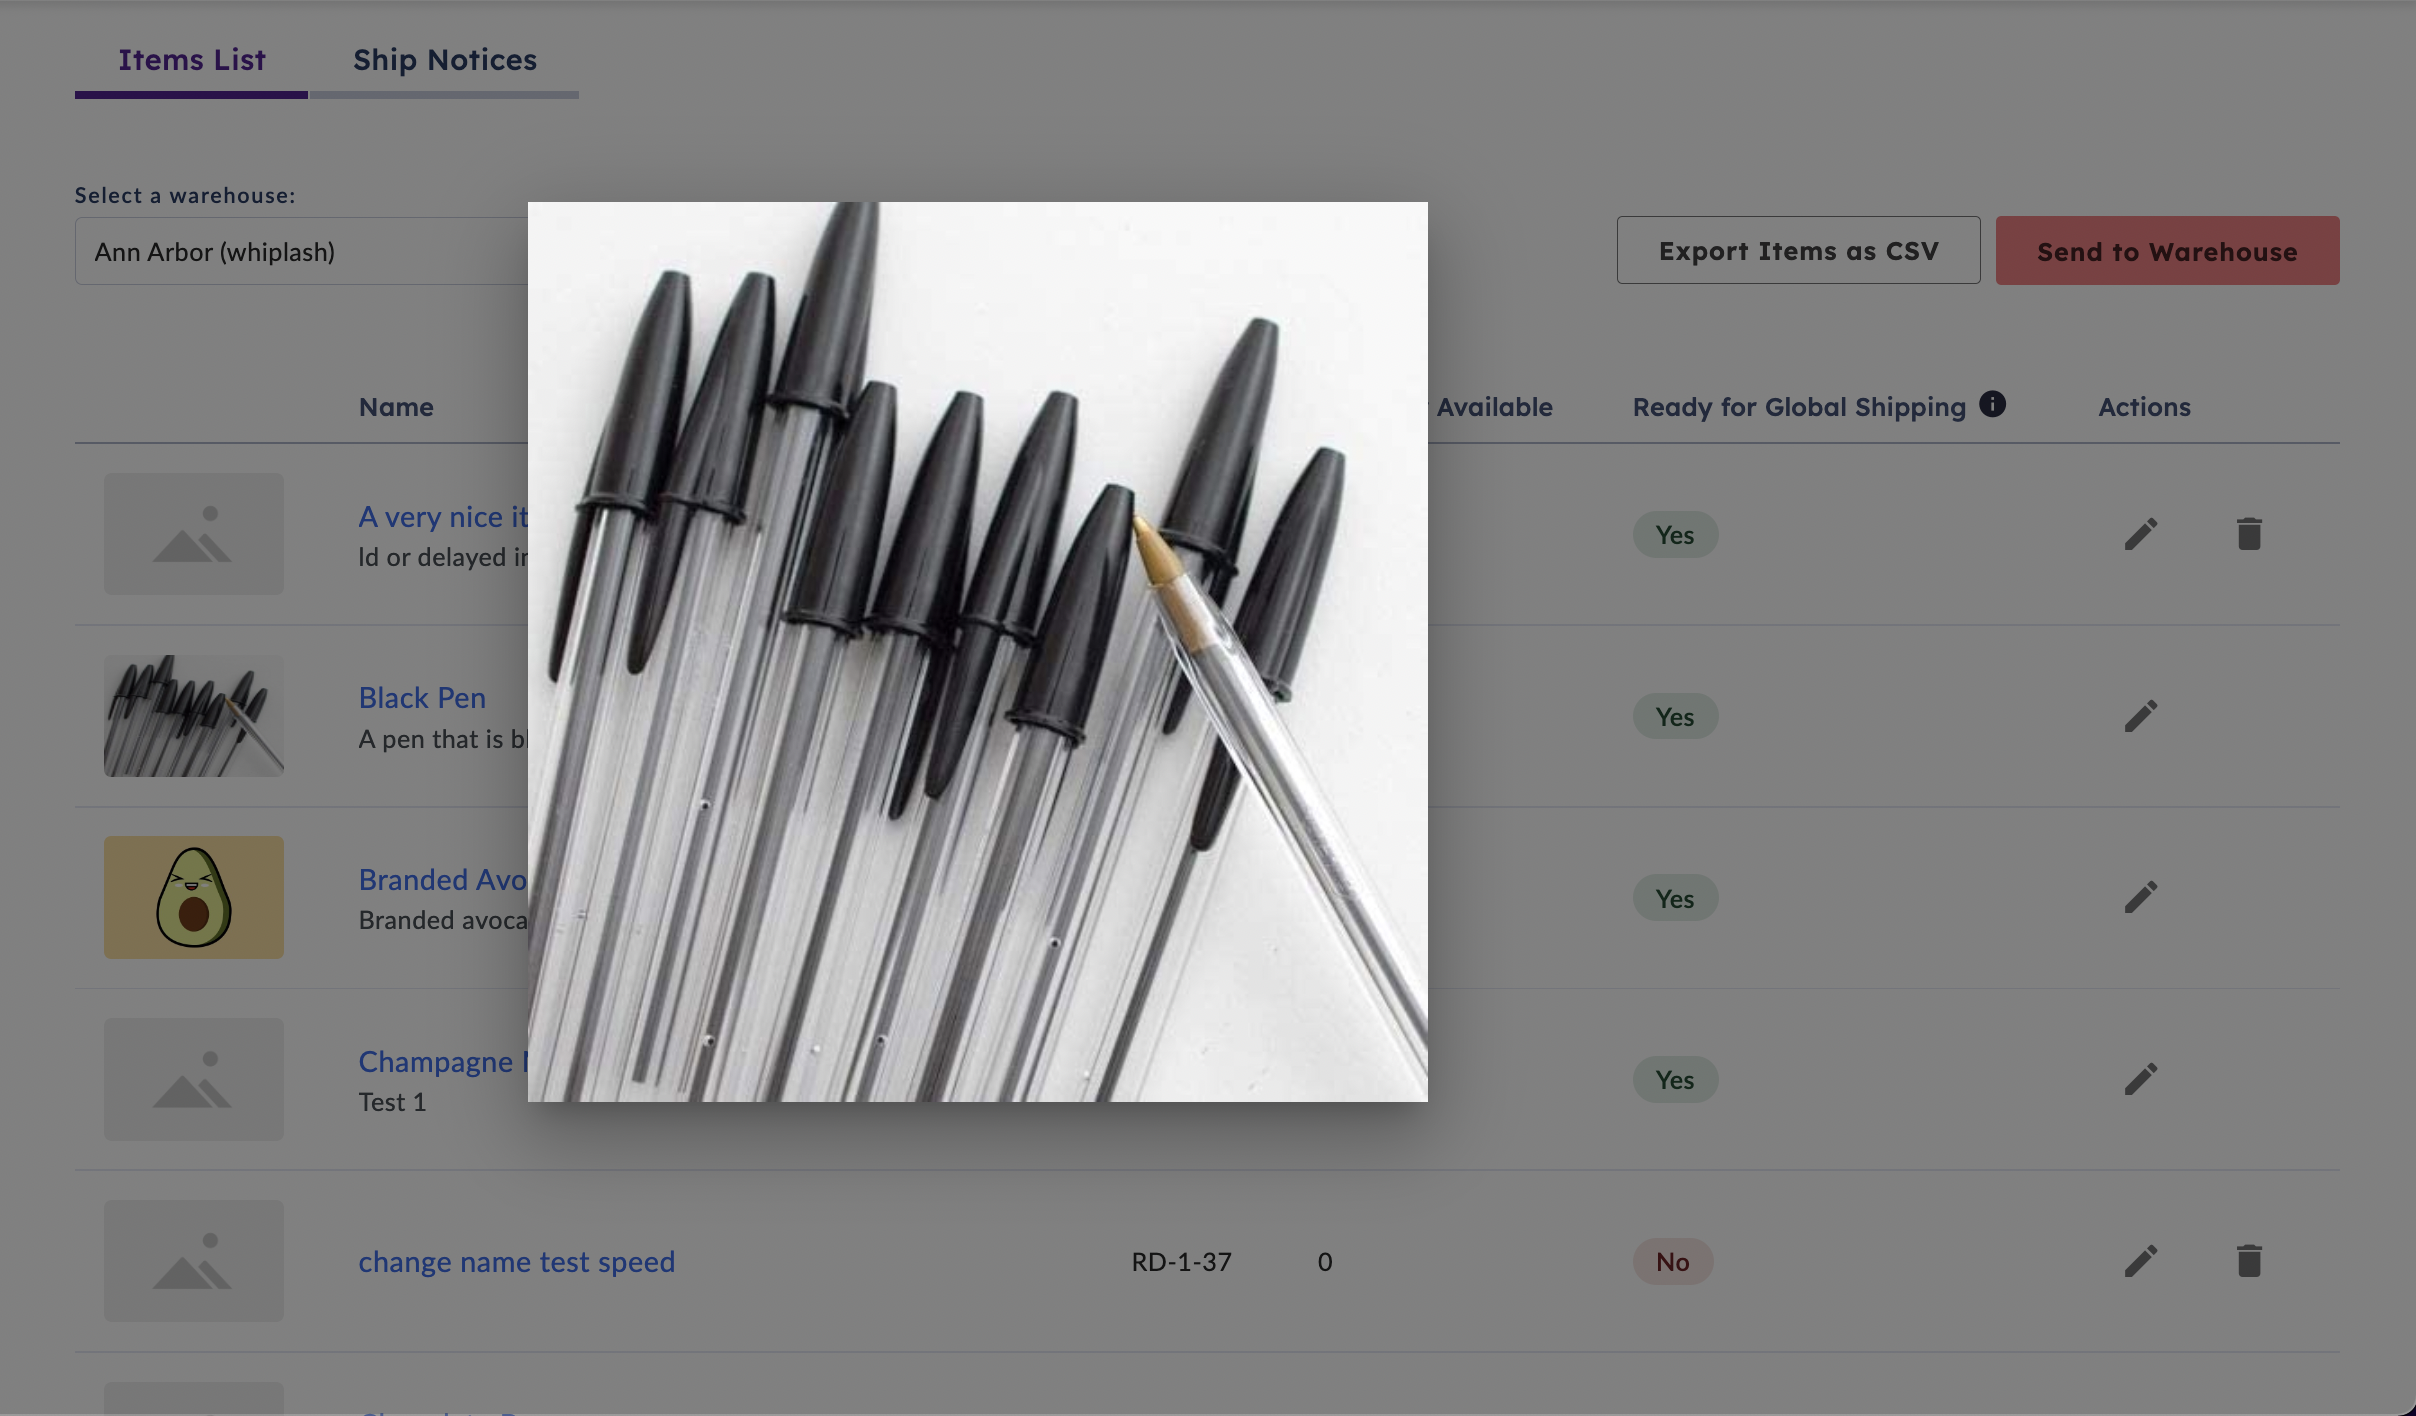
You can set a Cover Image for each item. The cover image displays as the item's thumbnail on the Inventory page, so you can quickly identify the item. Selecting the thumbnail enlarges the image.
Requirements
- Only Admin and Campaign Manager users can access the Inventory tab. Only these users can upload, delete, or select cover photos.
- Only photos uploaded by a user can be deleted. Photos added by the Reachdesk warehouse team must be removed by the warehouse team. Contact Product Support team to request deletion of these photos.
Comments
0 comments
Please sign in to leave a comment.